Tutorial Written by: Ixtli
The author provides this tutorial for personal use. Please do not use it to create goods for sale.
The Tutorial
Materials needed:
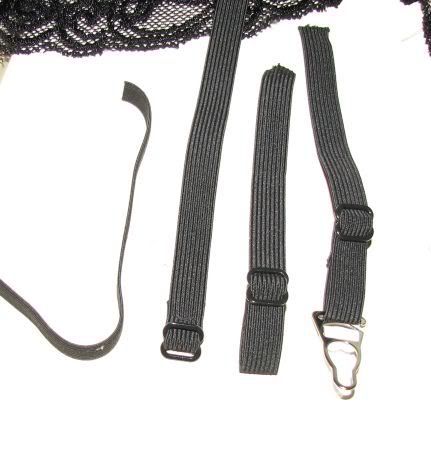
4 bra adjusters
4 garter belt tabs
Elastic
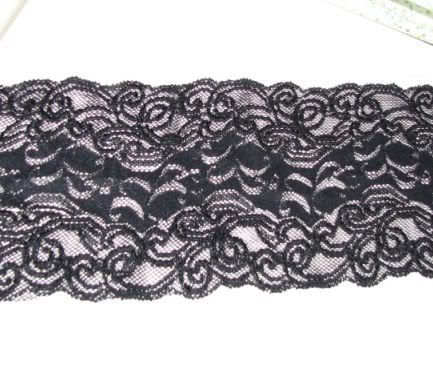
Stretch lace
about 1/4 - 1/2 yard of fabric
Depending on the elasticity of the fabric is how big your pattern is going to be. Measure your waist (or lower waist, depending on where you want it to sit) and hips, adjust this measurements to the elasticity by taking out a few inches of your final measurements. Because this garter belt holds its place only with the elasticity of fabric and waist elastic. A good idea is to take the same measurements from a pair of undies that fit just right.
If your garter belt turns out a bit smaller (as this one did) you can just add an extra piece of fabric or lace to the front or back.
Your basic design is going to be 2 triangles, where they meet will be the front and back.
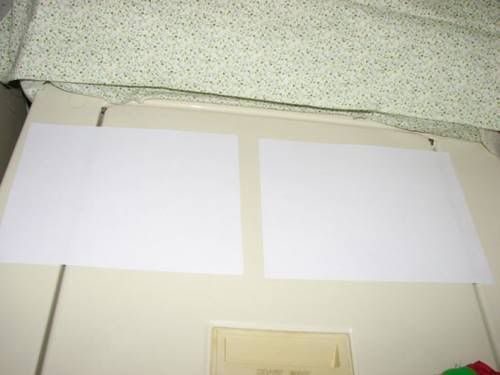
1.- Tape two sheet of paper and trace out your triangle. I made mine 14 inches (I think it could've gone longer). The sides one is 10.5 inches and 8.5 inches.
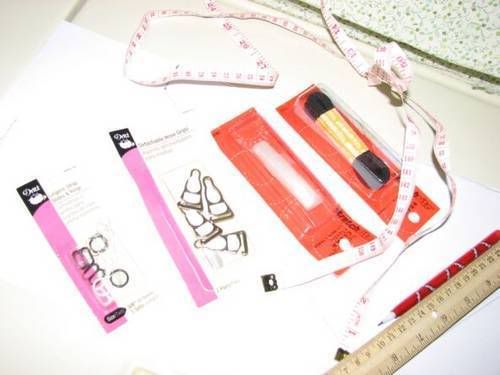
These are the supplies you'll need, the waist I used the transparent elastic and with the hanging tabs I used the black elastic.
Once you have your triangle traced out, pin it onto your fabric (doubled). Feel free to use plenty of pins, as these thin fabrics tend to slip around alot.
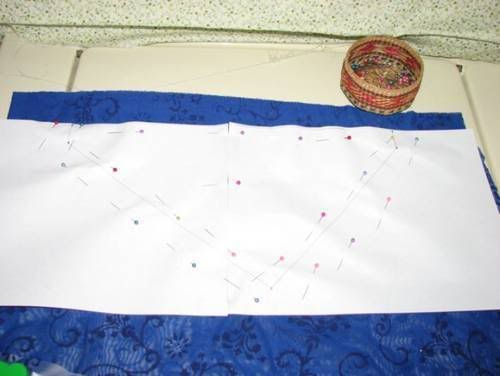
When you cut make sure and leave seam allowance on top and top corners where the triangles are to be joined.
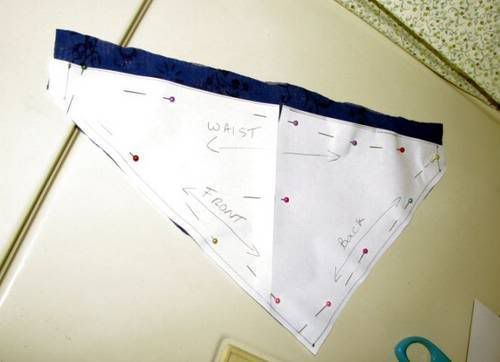
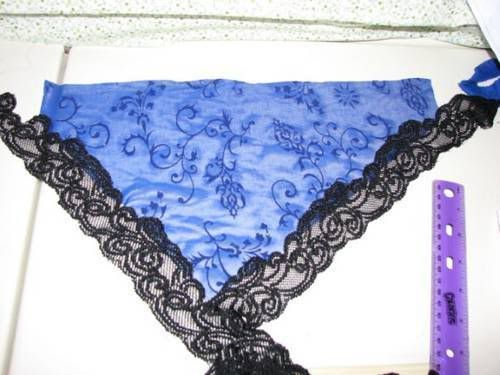
This is what you'll end up with:
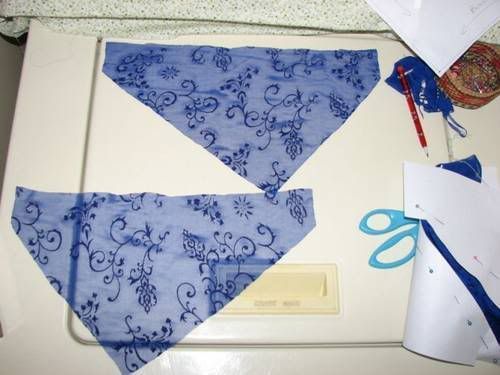
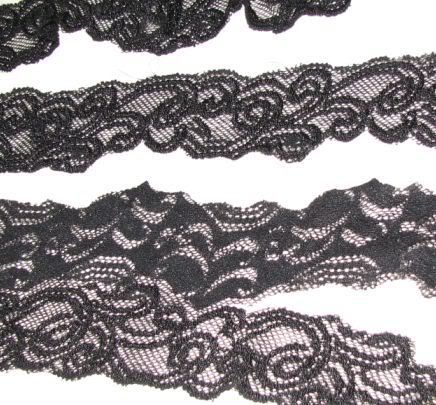
Now you'll need to get your elastic lace. I upcycled from a pair of underwear that was too small. Anyways, I cut it and made two strip out of each panel.
Fabric and lace laid out:
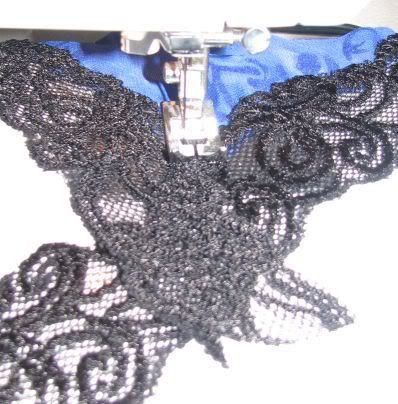
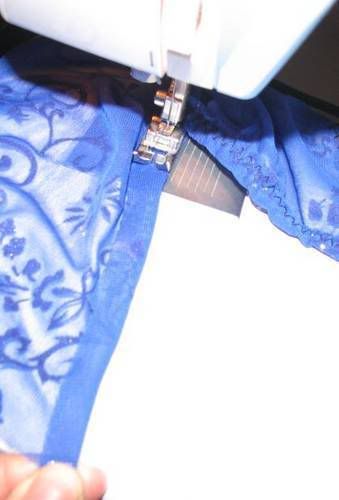
Stitch the lace over the fabric with a zigzag stitch or if you have a serger, well, lucky you :) Anyways, I used the zig zag stitch to allow room to stretch, I also reinforced the stitches by running it twice through.
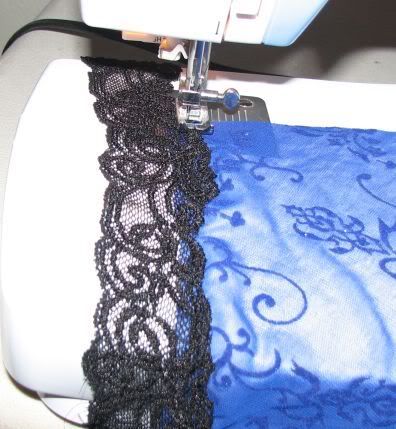
Don't sew over the lace-over-lace ends just yet.
Position the fabric so it sews straight down the middle of the lace:
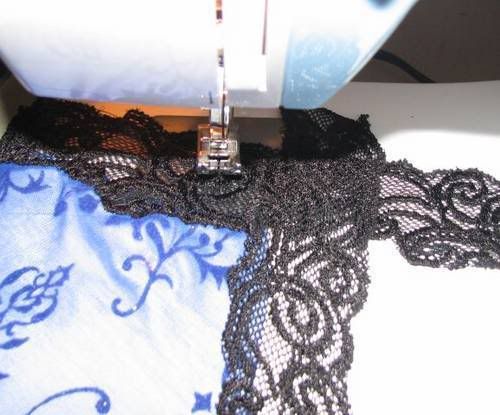
When I got to the end, I just turned it around and sewed through to reinforce it:
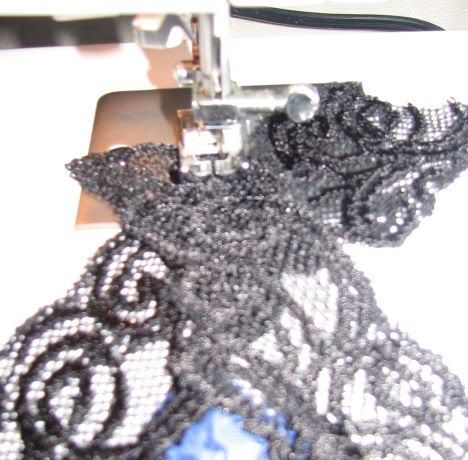
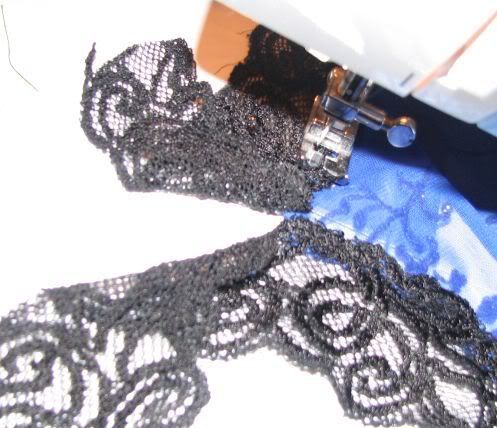
You are left with these overlapping pieces, now you can cut them off and end up with a finished pointy piece.
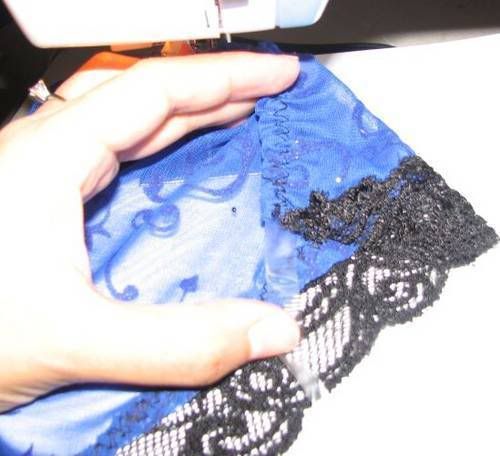
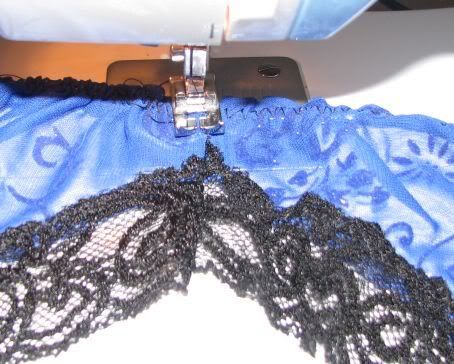
Now we can add the elastic to the waist. I did this each panel individually. Don't ask me why, it just seemed easier. I folded the fabric over the elastic and with one hand held the fabric while also stretching (so it sewed it stretched)
I made sure not to cut the elastic and just used as I needed to sew, THEN, cut it off, don't want to end up with too small a piece of elastic.
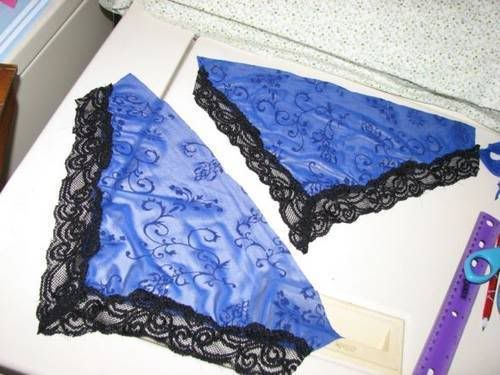
Ok, after both panels have the elastic sewn and trims cut off, you can go ahead and join both triangle panels:
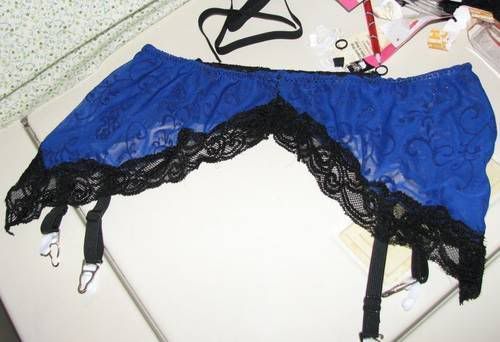
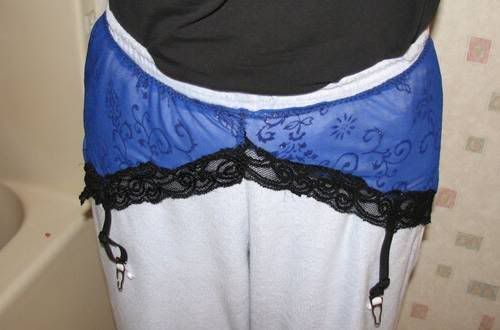
Ok, now its starting to look like a garter belt Where the panels meet are the front and back of your garter belt.
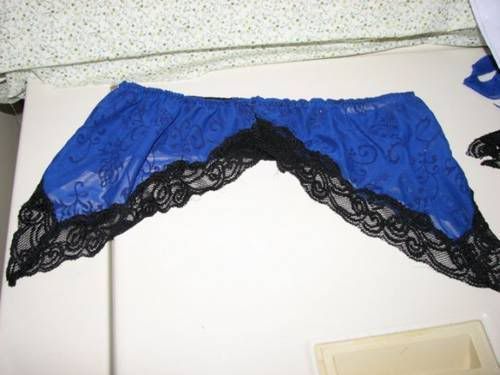
Now is the time to try it on. If it is too loose, you can take in a bit, if its too small you can add an extra piece of fabric or lace.
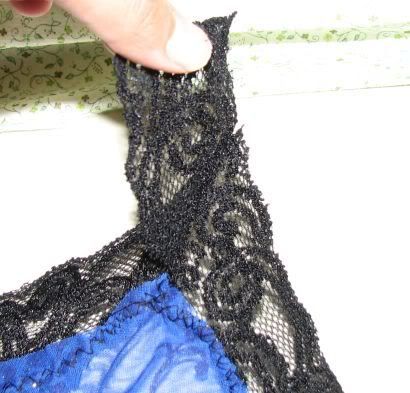
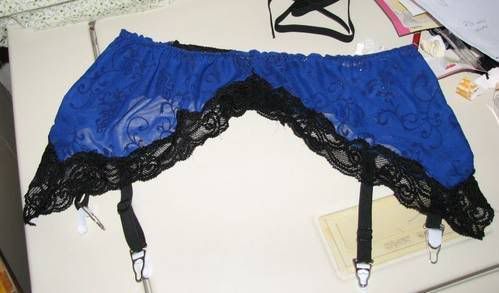
I didn't pay attention to the elasticity of the fabric and was working with it vertically, so I pretty much ended up with a non stretch fabric. I added a rather large piece of doubled stretch lace to make up for it. IT still looks ok, but not exactly how I wanted it. I added the extra lace to the back.

Once you have the garter belt size all set, its time to add the elastic with tabs for the stockings. Put the garter belt on, and kinda get an idea of where you want to position the elastic, remember one goes on front and one on back. I purchased the garter belt tabs and bra strap adjusters at JoAnn's (sewing notions sections) I used the bra strap adjusters to give me more freedom to adjust as needed, I am sure you can just upcycle them from an old bra. The only tabs I found are white and metal (so generic) but they are removable, so I can always replace them once I find some nicer ones.
My machine wouldn't sew the elastic, it kept tangleling it up, I didn't feel like tinkering with it so I sewed them by hand. I sewed the elastic on two spots, where the fabric and lace are sewn together and also at the edge of the lace. This gives it more stability and it won't pull at just one spot.

My work table was my washer machine
6 comments:
This is really cool!
Thank you for the information. This should prove to be very helpful. Cheers!
Thanks im planning to make one myself :)
Thanks for the tutorial :)
Post a Comment